Proper recovery after a workout is essential for preventing injuries and keeping your muscles in good form, but lots of people skip the post-workout stretching and very few have time for a massage session after an intense exercise routine.
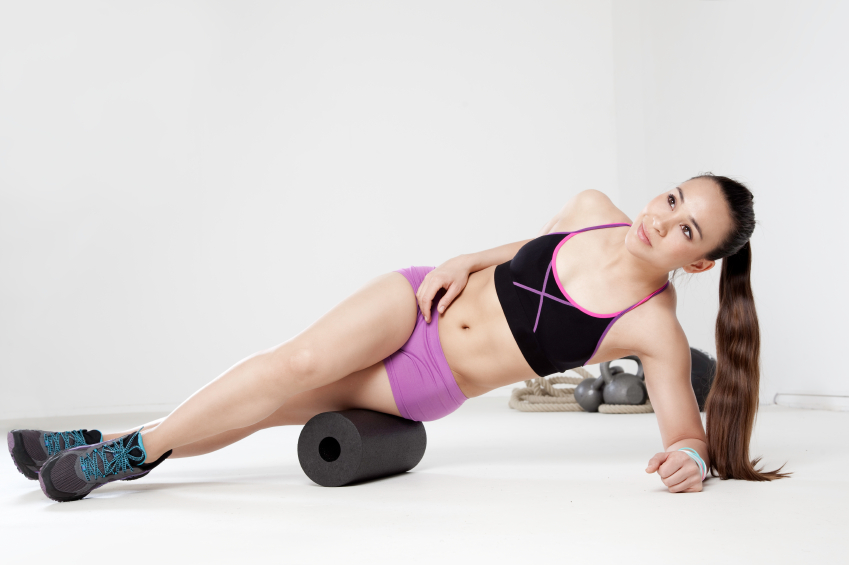
Self-massage works well, but an even better alternative is foam rolling or self-myofascial release (SMR), as this technique is called. Mostly used by athletes and physical therapists, foam rolling is an accessible and convenient recovery method that can be performed at home by any gym-goer.
The technique uses a foam roller to apply pressure to specific areas of the body, relaxing the muscles and releasing the tightness after a workout. Although the target muscles are the overactive ones, the antagonists also benefit from foam rolling, as they can be easier activated once the flexibility and extensibility of the painful muscles is restored.
Although stretching can relieve some of the tension and can improve the elasticity and blood flow, sometimes it’s not enough for relaxing the tight tissues, or breaking up the adhesions formed between the muscle layers and the tissues surrounding them.
When you roll the foam cylinder under a muscle that’s overactive and painful, you find a tender area that’s preventing your muscles from performing at their maximum capacity, even if you don’t experience any cramps or soreness. By putting pressure on those knots that form inside the muscle fibers, you actually perform a deep-tissue massage that compresses the fibers, restoring the circulation and tenderizing the muscles.
The tender areas need to be compressed for 30-60 seconds, and you might notice that the pain radiates to other areas of the body. Although uncomfortable and unpleasant, this symptom is normal, so there’s nothing to worry about. However, before starting to use this technique, it’s recommended to ask for a professional’s advice, just to make sure you’re doing it the right way.
Foam rolling can enhance your athletic performance by speeding up the recovery of damaged muscles, and can be applied for most of the major muscle groups, from hip flexors, quads and latissimus dorsi to trapezius, adductors and rhomboids.
To apply the self-myofascial release procedure at home, you only need a foam cylinder and an exercise mat. If you’re new to the technique you can start with a softer foam roller, as these are available in different densities, lengths and diameters. Apply the roller under the tensed muscle and roll slowly, using your body weight. When you come across a tight and painful area, maintain the pressure for a couple of seconds, breathing naturally.
If the area feels very painful you can shorten the interval to 5-10 seconds and repeat, until the discomfort lessens. However you can also try to massage the surrounding area first, and when the muscle becomes more relaxed and elastic, to move to the tighter points. This should gradually loosen the overactive fibers, making the pain easier to tolerate.
Still, note that you shouldn’t use the roller on a joint or bone, neither on your lower back and neck areas, as these are more sensitive and it’s easier to cause damage to the muscles in these regions when you don’t use the correct technique.
Foam rolling can be incorporated in all your workouts, before and after the exercises, as they improve circulation and flexibility, and help you move easier. Make sure to hydrate your body correctly and to eat protein-rich foods as well, as these, along with a restful sleep, are also essential for proper muscle recovery.

Updated on: 08.09.2021 The lymphatic system is involved not only...

Stress can make you gain weight – we’ve heard this...

Various theories exist to answer this question. As you will...

Our series of whole body vibration machine exercise articles continues...

Both rebounding and jumping on a trampoline are excellent ways...